Reducing Disk Usage on Your Mac with CleanMyMac
(I released during a long period where OmniDiskSweeper wasn't available, it is, again), so if you'd like to try my take on this, check out SimplyDiskSweeper
This is the third article of a series of articles on reducing disk space usage on your Mac. Read the first post: Reducing Disk Usage on Your Mac by Processing Your Videos and second post: Reducing Disk Usage on Your Mac with OmniDiskSweeper if you haven’t.
In our second article, we talked about running OmniDiskSweeper and manually going through the directories and cleaning those that unnecessarily use up space. There is another utility that helps to reclaim disk space more easily – CleanMyMac.
Note that CleanMyMac is a paid app with a free download.
Running CleanMyMac
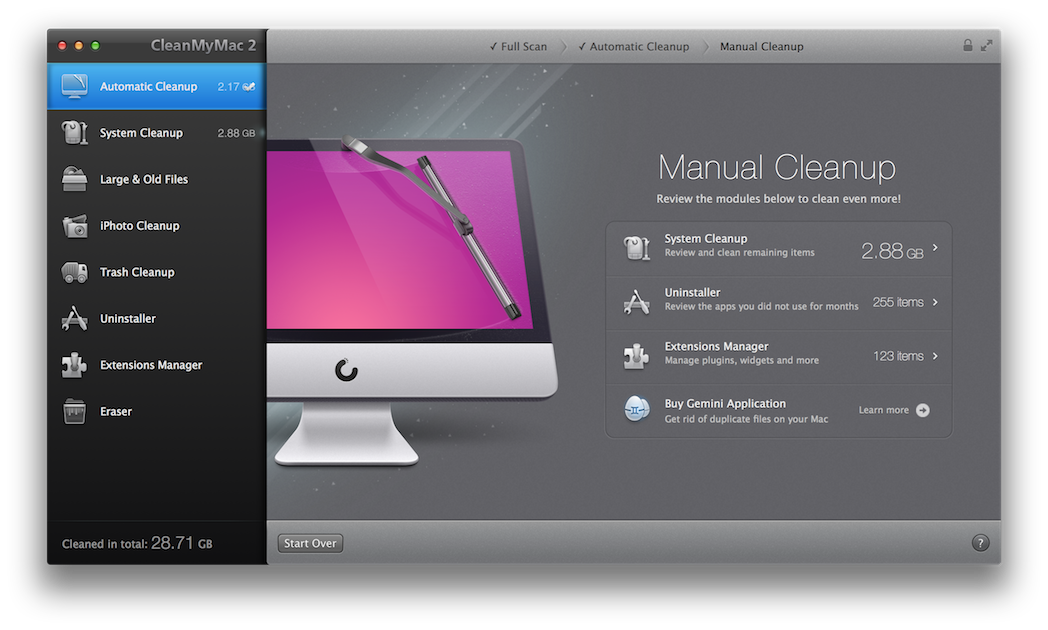
Once you launch the app, it’ll give you a couple of options to clean on the left bar. Make sure Automatic Cleanup is selected and click Start Over and then Scan to start.
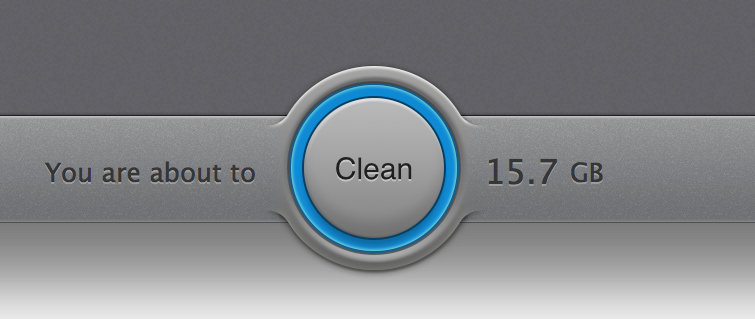
It should take a few minutes to scan your hard disk/SSD. Once it’s done scanning, it should report how much space it can clean automatically. Careful now, DO NOT click the Clean button. Instead, look at the left bar and click on System Cleanup.
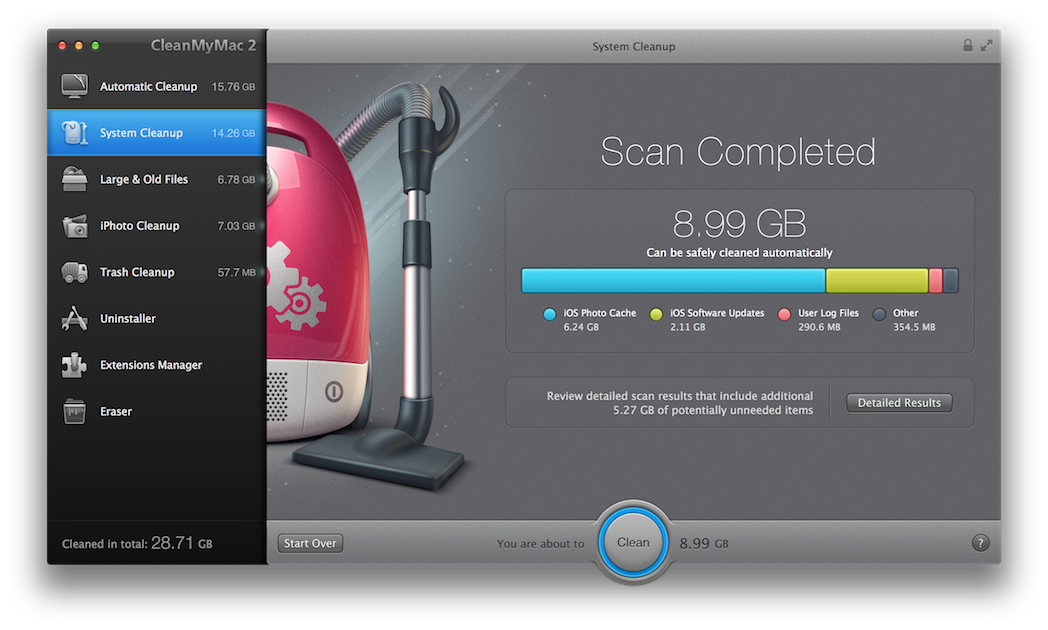
Click on Detail Results and it should show you a detailed breakdown of the items to will be cleaned.
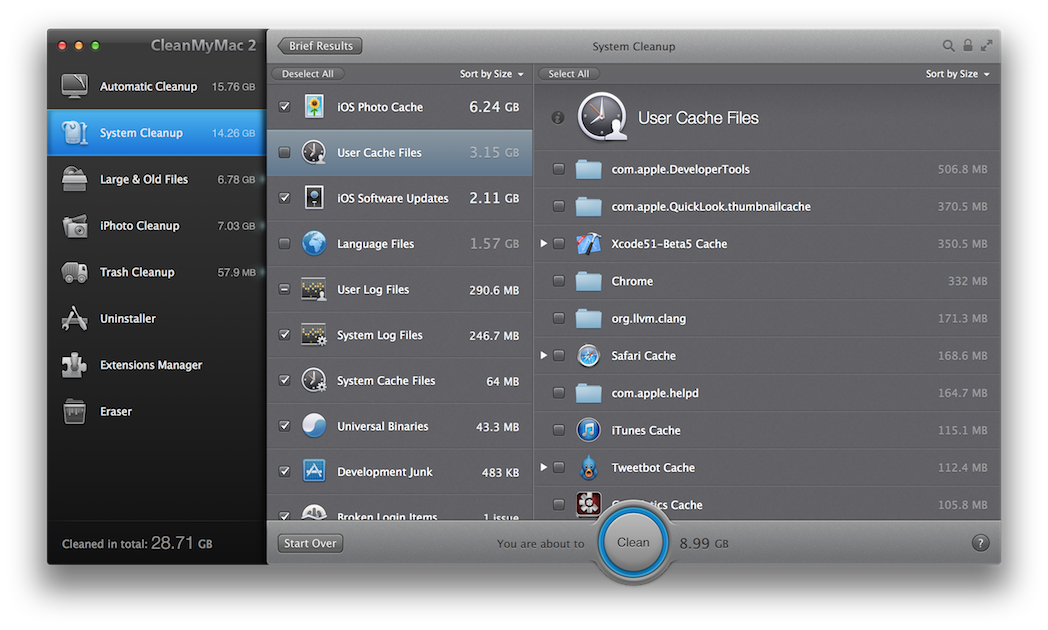
As a good habit, we’ll want to only clean those items that we know will be safe without. I usually uncheck most items, including iOS Photo Cache (careful!) and check items such as iOS Software Updates that I know is safe to remove. Click Clean – it should prompt you for your password – and let it do its job.
Continue on with Large & Old Files as well as Trash Cleanup. Happy cleaning!
Want more articles like this in your inbox? Join our newsletter to receive free email updates, tips and tricks related to iOS & macOS X.