Notational Velocity is very basic text editor with a simple, streamlined user interface based around search. The app launches quickly and is very fast to work with.

Getting Notational Velocity
Notational Velocity is free software. You can download it here. The download is a zip file. If it hasn't been automatically unzipped, double click it to unzip and you should get the Notational Velocity app. Drag it into your /Applications folder.
Since it's your first installation, instead of double-clicking, Ctrl-click on the app and choose Open. It should display a message asking you to proceed only if you trust it. Click Open and launch the app. It will probably prompt for you to enter administrator credentials.

Configuring Where Notes Are Stored
The first time you launch the app, the app should show you a few sample notes. Ignore them.
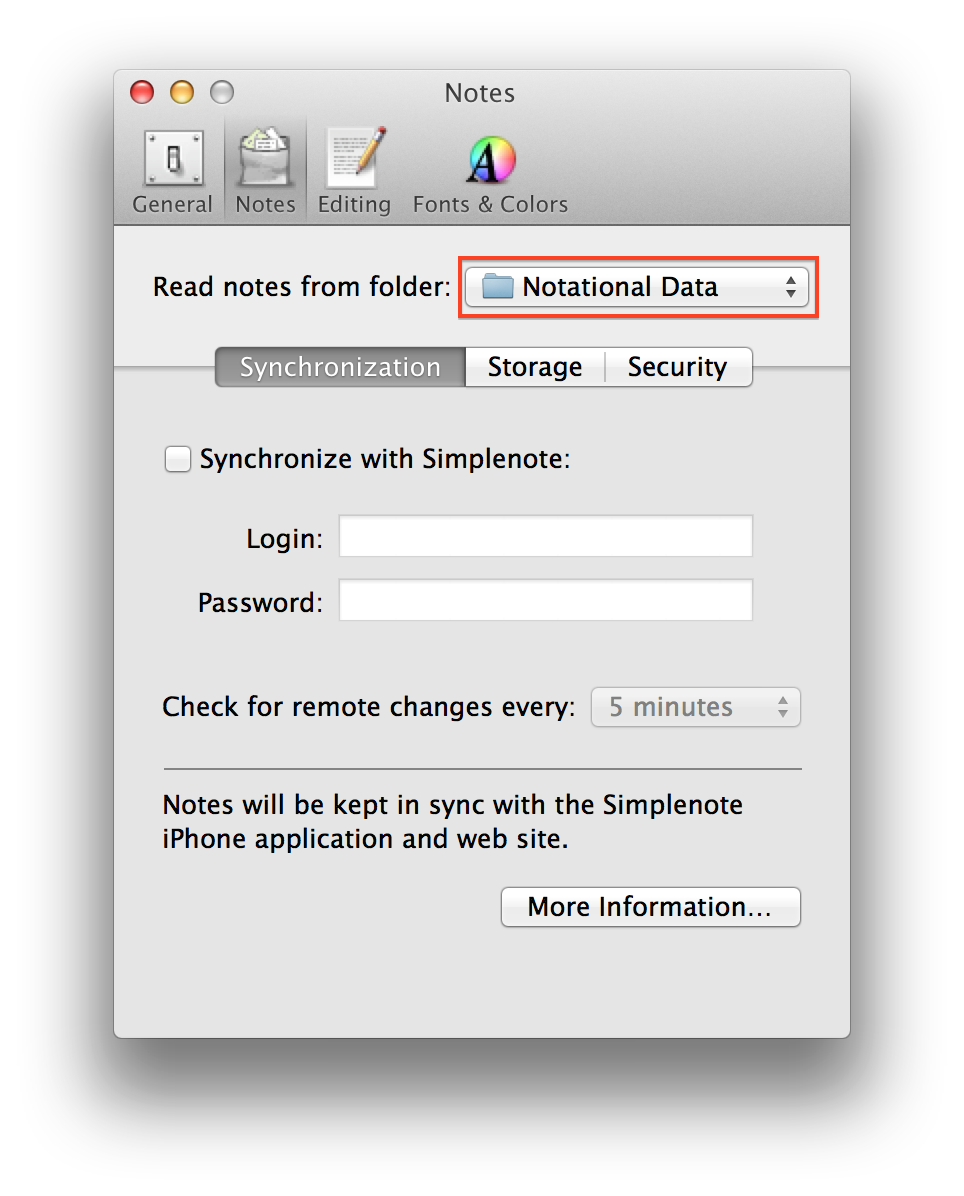
Press Cmd+, to bring up the Preferences pane for the app and click on the Notes tab. Click the dropdown box for “Read notes from folder:” and choose a folder where you want the notes to be stored in. Just make sure you know where the folder is (let's say we choose ~/Desktop/notes/ just to make it easier to find), but don't waste too much time thinking of where to put it because we are going to move it later.
Creating Notes
Now that we have configured where the notes are stored, let's see how we can create notes. Start typing the word “test” in the text box at the top of the Notational Velocity window. It should now look like this:

Hit the return key and a new note will be created with the filename with you had typed in the text box (“test” in this case). If you now open up Finder and browse to the folder where you configured Notational Velocity to store notes in, you should see a single file called “test” in there.

Editing and Saving Notes
Go back to the app and type something in the big text box at the bottom half of the screen. The note will have been automatically updated and saved. You can verify this by clicking the file in Finder and pressing space (to invoke Quick Look). Go back to the app and press esc to end editing the file. The big text box will clear out.
Now create another note by typing “test something else“ and hit return in the small text box again. Type something into the big text box and press esc. You should now see the notes listed in Notational Velocity.

Search
Type the word “test” in the little text box and you'll see the list of notes still showing both notes. Now clear out the little text box and type something instead, it should show only the second note you created.
The smaller text box is actually a search box too!
Navigation
The text box is your primary navigation tool in Notational Velocity. Type something and the list of notes will be filtered – by both the filename as well as the contents of the note – you can press the up/down arrow keys to navigate the list of notes, while you have navigated to the note you want, hit tab and you can start editing that note.
Alternatively, instead of navigating the list and editing an existing note, you can hit enter and a new (empty) note will be created with what you type in the search box as its filename.
Additional Functionality
There are functionality such as tagging which you should explore. Once you get the hang of the navigation you can pretty much use the app very quickly without needing to reach for the mouse.
Dropbox
Used alone, Notational Velocity is a wonderful and simple tool and if you use Dropbox (and you should), combining them together makes things so much better.
Quit Notational Velocity by pressing Cmd+Q. Move your notes folder (previously ~/Desktop/notes/) into Dropbox, so you would probably have something like ~/Dropbox/notes/. Now launch Notational Velocity, go to Preference (Cmd+,) and change the notes folder to ~/Dropbox/notes/ (the app might have automatically helped you to update the setting already though).
Since Dropbox automatically synchronizes files across your devices, you can now access your text notes on your mobile phone, tablet or other computers!
Tweet Buffer