How to Use OmniDiskSweeper on macOS to Find Large Files
(I released during a long period where OmniDiskSweeper wasn't available, it is, again), so if you'd like to try my take on this, check out SimplyDiskSweeper
This is the second post of a series of articles on reducing disk space usage on your Mac. Read the first post, Reducing Disk Usage on Your Mac by Processing Your Videos if you haven’t.
Use OmniDiskSweeper like this: download it, scan your disk, open the biggest folders, and delete only files you understand.
Quick answers
What is OmniDiskSweeper? OmniDiskSweeper is a free Mac disk sweeper from The Omni Group. It scans a drive or folder and lists the largest folders first so you can see where the space went.
How do I use OmniDiskSweeper on macOS? Open the app, choose your main disk, wait for the scan to finish, then drill into the largest folders. Use Finder to inspect files before deleting anything.
Is OmniDiskSweeper safe? The scan is safe. Deleting files is the risky part. Start with files you created or downloaded, and leave system folders alone unless you know exactly what they contain.
In order to reduce disk usage, you need to know what is unnecessarily using up disk space. OmniDiskSweeper from The Omni Group is great for figuring this out. Download OmniDiskSweeper directly here.
Running OmniDiskSweeper
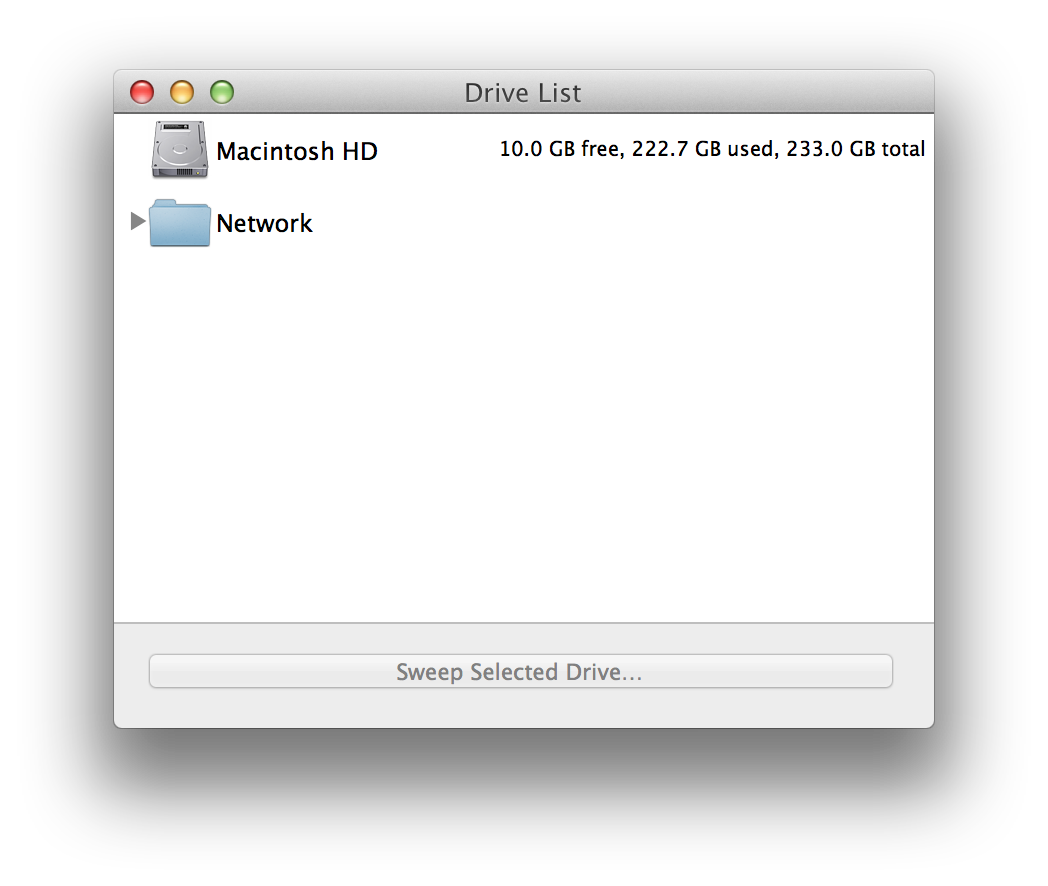
Launch the app and it’ll show you a list of drives. Chances are the first entry will read “Macintosh HD”. That is your hard disk/SSD. Double click on it to start scanning your drive contents. If you have multiple hard disks or have external disks attached, you will see more than one entry.
How to clean disk space on macOS with OmniDiskSweeper
OmniDiskSweeper is a good first step when you need to clean disk space on macOS but do not know where the storage went.
The short version:
- Open OmniDiskSweeper.
- Scan your main drive.
- Sort through the largest folders first.
- Open suspicious folders in Finder.
- Delete only files you recognize and can replace.
That last step matters. OmniDiskSweeper shows disk usage clearly, but it does not know which files are important to you.
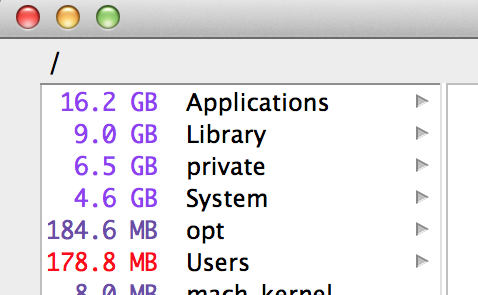
Subject to the size and type of your disk, OmniDiskSweeper should take at least a few minutes to run. While it’s running, the title bar will say it’s “sizing” and you’ll see that the numbers besides each directory have different colors. The numbers indicate how much space the directory is taking up, with a still-scanning number indicating that directory is still being scanned.
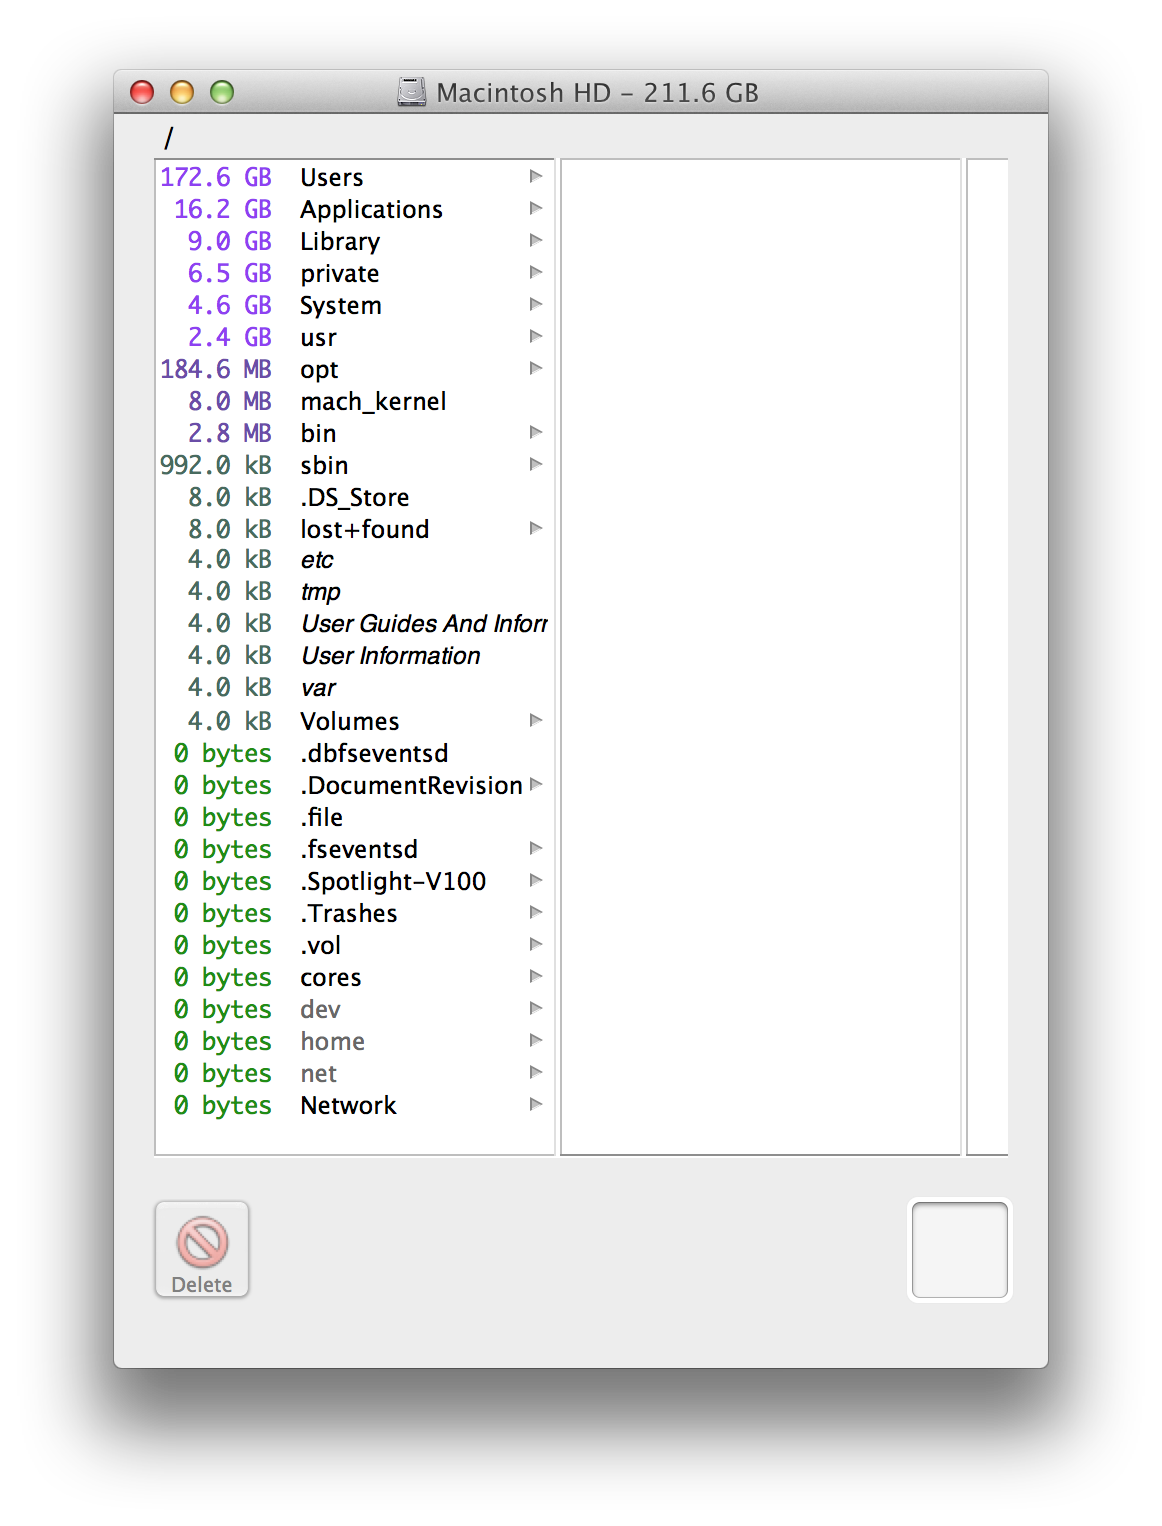
Once the app is done, the word “sizing” will no longer be shown in the title bar. In the screenshot above, you’ll see that in my case, the /Users directory is taking up a whopping 172.6 GB of my hard disk. That can present some good opportunity for clearing up my disk. You can browse around by clicking.
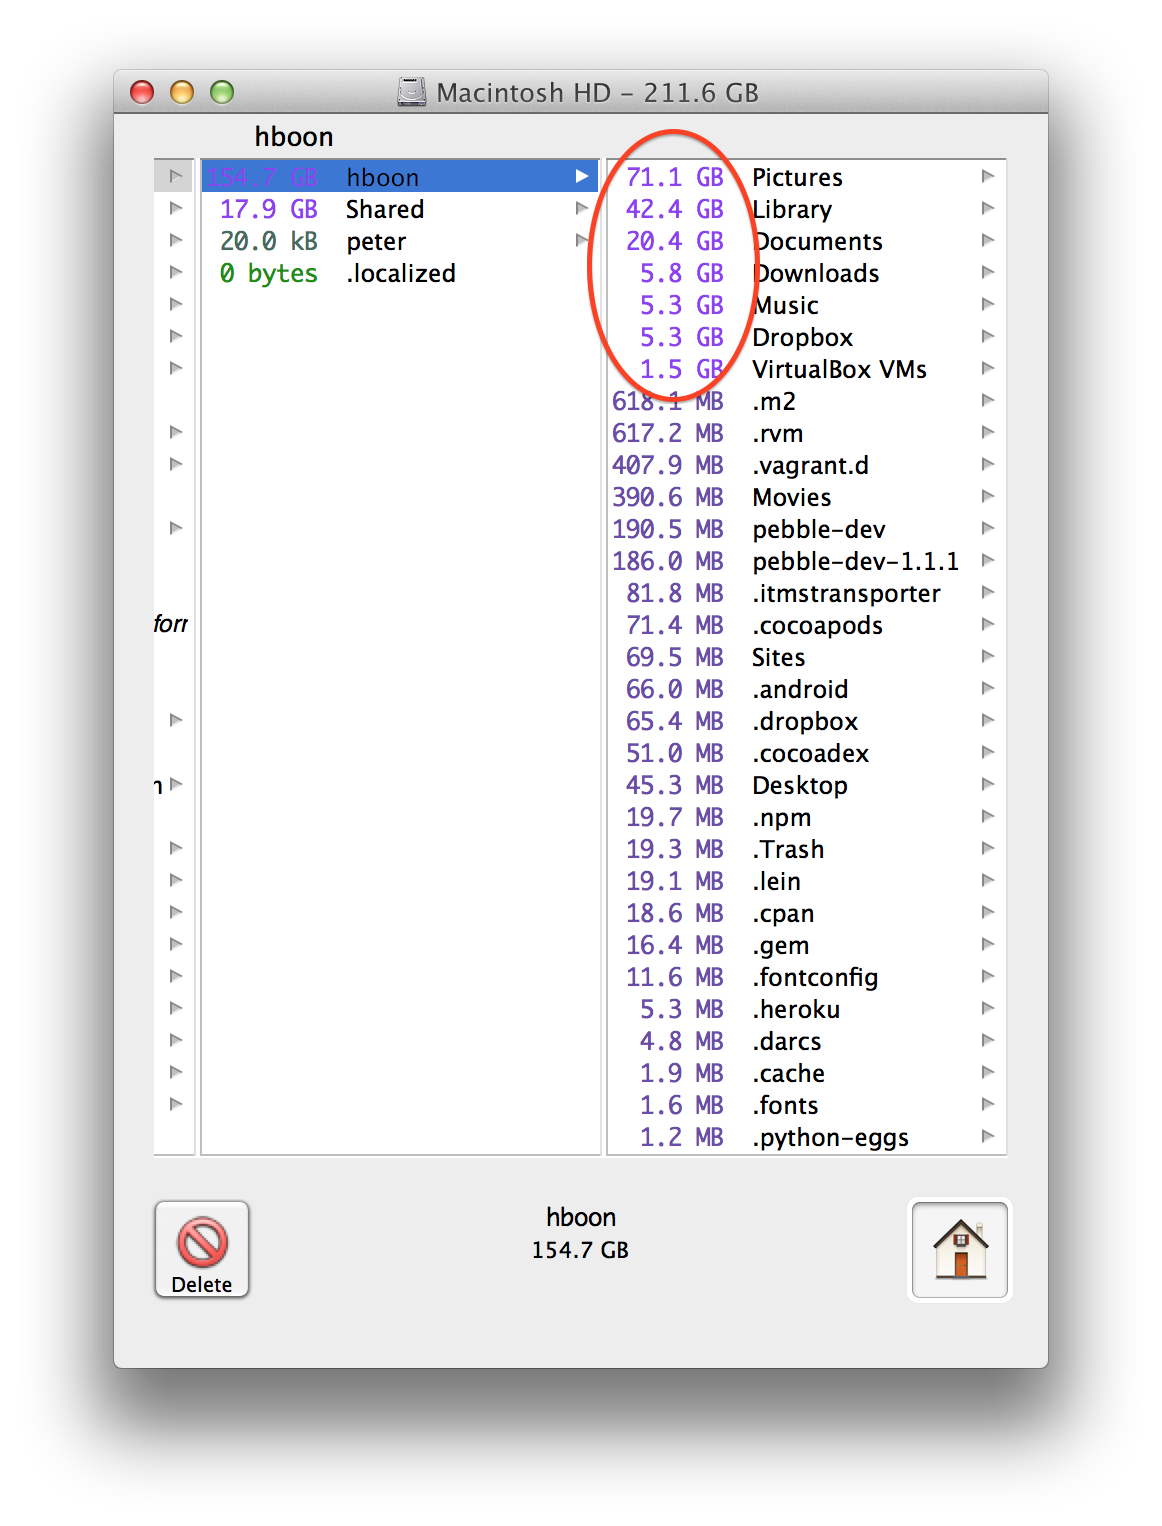
For illustration purposes, let’s say I want to delay cleaning my Pictures and Documents directories for the time being. Taking up 5.8GB, the Downloads directory is low hanging fruit. Since this is where the Mac saves downloaded files, I double-click the directory, open it in Finder, and verify that there isn’t any file that I want to keep. I then empty the entire Downloads directory.
Repeat this process for the bigger directories that aren’t managed by the system, and you’ll be able to trim a lot of space from your drive. Be more careful with Library, photo libraries, app support folders, and anything you do not recognize.
Is OmniDiskSweeper free?
Yes. OmniDiskSweeper is a free Mac disk usage utility from The Omni Group. It scans folders and shows what is taking up space, but it does not decide what should be deleted for you.
What is safe to delete?
Start with folders you own and understand, such as Downloads, old archives, exported videos, disk images, and duplicate installers. Be careful with system folders, application support folders, photo libraries, and anything in ~/Library unless you know exactly what the files are for.
If you want a simpler app for the same job, I also made SimplyDiskSweeper.
Want more articles like this in your inbox? Join our newsletter to receive free email updates, tips and tricks related to iOS & macOS X.